Braising 101: A Complete Guide to Low-and-Slow Cooking
Every state the article template can render, in one place: an FAQ accordion, callouts, a comparison table and a numbered method.
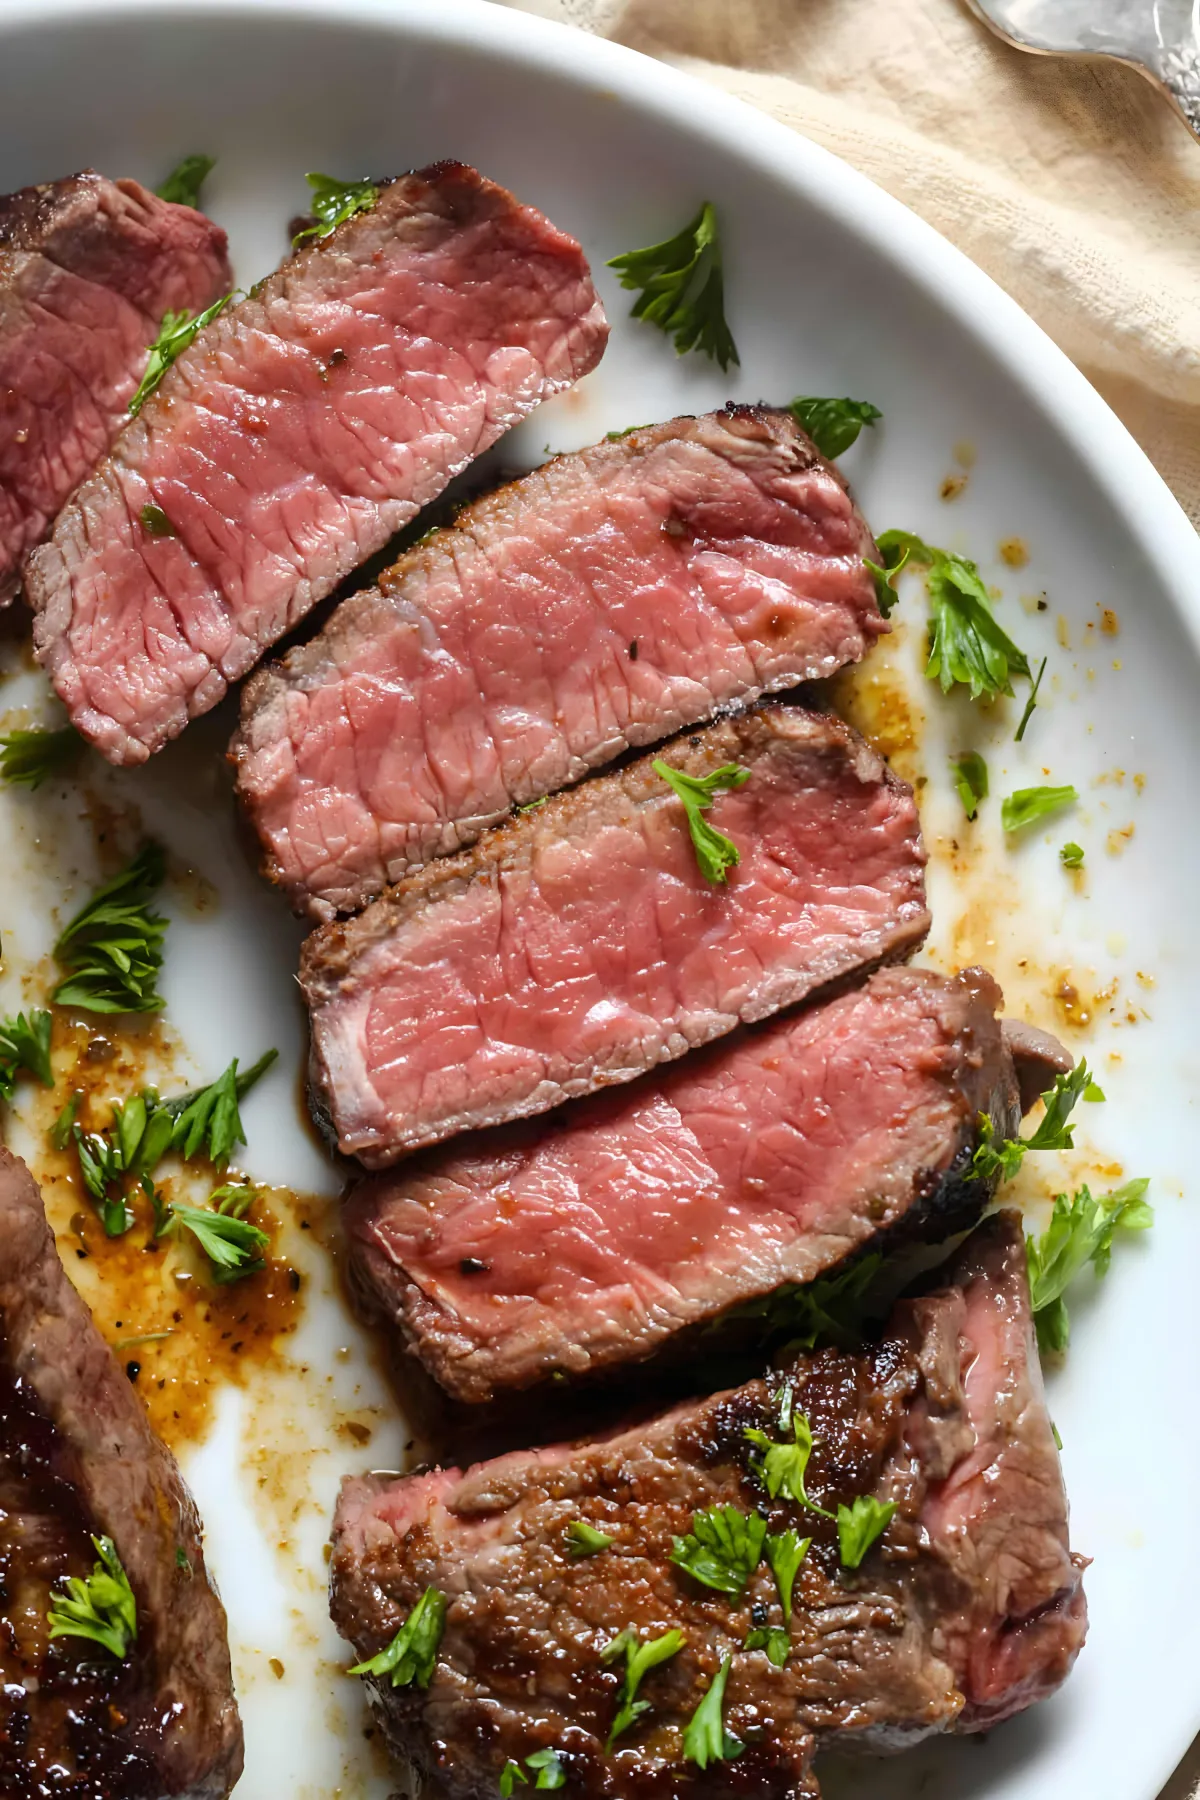
Braising is the technique that turns the cuts nobody wants into the dinner everybody remembers. It is also the most forgiving thing you can do with an oven, which is why it belongs early in any cook's education rather than late.
Why tough cuts get tender
Chuck, shank and shoulder are full of collagen. Collagen is what makes them chewy when cooked fast, and what makes them silky when cooked slowly in liquid — it dissolves into gelatin somewhere above 70°C, given enough time.
Choosing the cut
Look for marbling and connective tissue, not for tenderness. A cut that feels tender raw has nothing to give up in a braise.
Braising versus stewing
The two get used interchangeably and they are not the same thing. The distinction is the size of the pieces and the depth of the liquid.
| Braise | Stew | |
|---|---|---|
| Cut size | Large, often whole | Bite-sized pieces |
| Liquid depth | Halfway up the meat | Fully submerged |
| Vessel | Dutch oven, lid on | Pot, lid ajar |
| Typical time | 2–4 hours | 1.5–3 hours |
The method, in order
- Dry the meat thoroughly and salt it at least forty minutes ahead.
- Sear in a heavy pan until deeply browned on every side — this is flavour, not colour.
- Remove the meat, soften your aromatics in the rendered fat.
- Deglaze with wine or stock and scrape the fond off the bottom.
- Return the meat, add liquid to halfway, and bring to a bare simmer.
- Cover and move to a 150°C oven until a fork slides out with no resistance.
Frequently asked
Can I braise without wine?
Do I have to sear first?
Why is my sauce thin?
Making it ahead
A braise is better on day two. Cool it in its liquid, refrigerate overnight, lift the set fat off the top, and reheat gently.